by Kevin Winkler
Somewhere in your home, there’s probably a box of old photographs you want to have restored. However, unless you know how to use your scanner correctly, the final quality of the digital image can be poor, which will cause a lot of frustration when attempting to have the images brought back to life by a professional.
If you want to reclaim your memories, then it’s worth taking the time to scan them correctly, before attempting to have them restored.
Scanners all work in essentially the same way; they convert photos into a digital format.
You don't need to buy the most expensive, top-of-the-line scanner; an inexpensive flatbed scanner will do the job nicely.
Please note:
Don't try to fix your photos before you scan them; attempts to scrub them clean will only make the damage worse. Just wipe off the dust with a soft brush. Once scanned, a restoration artist can clean up all the scratches and other blemishes in a photo editing program. Don't cut your photos, either. They can be cropped digitally once they're scanned and restored.
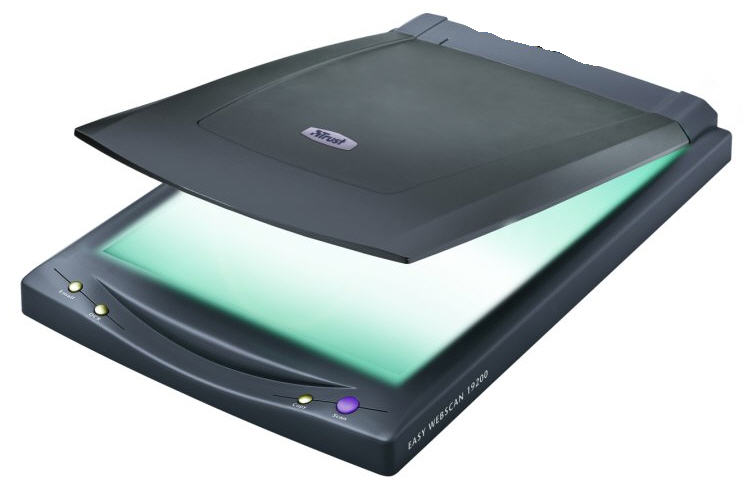
If using a flatbed scanner, you place the picture face down on a glass surface and a scanning head moves across the photo, capturing the image, which is then sent to your computer. Be sure to use the scanning software to "highlight" or "select" just the image, otherwise the entire bed of the scanner will be included in the final digital image.
Most scanners come with automatic settings, which are a nice shortcut. These settings allow the picture to be scanned at the highest resolution. Of course, the highest resolution might not be necessary, so customizing the settings becomes more important.
If your goal is just to preserve your photos, a minimum of 300 dpi should be fine, although I recommend higher settings if you want a small image restored
and enlarged. For example, if you want an old wallet-sized image restored and enlarged to an 8 x 10, you will need a higher resolution to create a more professional looking portrait. For enlargements, you will want to scan images up to 600 or higher dpi.
If the photo is in black and white, I recommend scanning in color. The color scan option will give the restoration artist a greater ability to manipulate the image. If you scan in greyscale, some important information can be lost during the scanning process and limit the "richness" of the final, restored image.
Now that you've got your scanner set and your photos ready, the next logical step is to do the actual scanning.
Place the image face down on the glass. (You can hit the "preview" button to check that your photo is clean and positioned correctly before scanning and saving the image)
After you've scanned a photo, save it as a TIFF or JPEG file. A TIFF is higher quality image, but a JPEG will make it easier to e-mail the photos. When you save, do not compress the photo. You'll sacrifice image quality for file size, and the final results will look soft and lacking detail.
Now it's time to clean up those photos. You can find a lot of photo restoration artists online, but, of course, we are the best . . . and our services start at just 15.99.
Feel free to visit us today for a free quote.


