If you would like to submit photography or photo restoration tips to this blog, please email me at KevinRetouch@gmail.com.

We will gladly provide a link to your website or blog along with your contribution.

Tuesday, September 27, 2011

40 Outstanding Award Winning Photos Around the World

By David F. Bezold
This mountain lion’s favorite spot is a large rock formation where he rests in the late afternoon. I waited patiently until he stared directly at me.


Erwin von Arx – Science


By Majed Sultan Ali


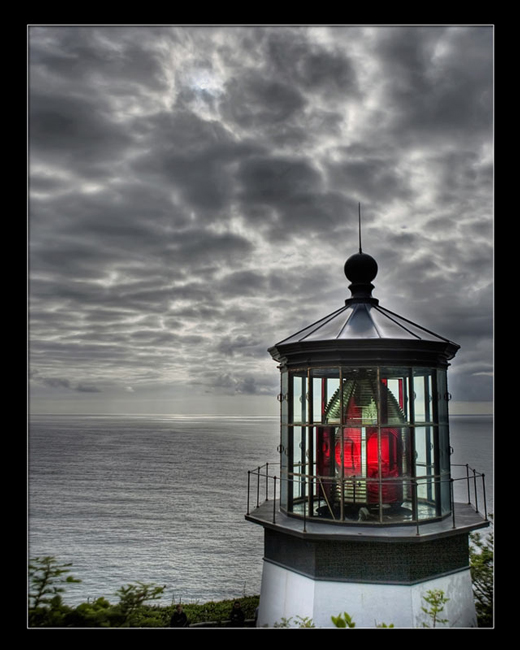
JoHanna Wienert (Newport, OR)


Saturday, September 10, 2011

Learning to Select Appropriate ISO Settings

All photographers, irrespective of their level of experience, know the term ISO as it is one of the essential requisites, which enables them to take effective photos in varied light conditions. As one of the three components of the exposure triangle, the ISO setting is defined as a value which represents the sensitivity of the digital camera’s image sensor. This value is expressed in form of a definite number and is inversely proportional to the amount of light meaning that the lesser the ISO value, the more is the light required and vice versa. If you take a look at the two photos below you will notice the effect that the different ISO settings have on the final outcome – the one on the left has been taken 100 ISO and the one on the right at 3200.


It is essential for a photographer to adjust the ISO value while taking a photograph in combination with the shutter speed as well as the aperture because it is this setting which determines the final outcome of the photograph. Therefore, whether it is a professional photographer trying his talents in a deep rain forest or an amateur practicing at a concert, unless the ISO setting is adjusted in accordance with the amount of light in the surroundings, one would only end up taking dark images.


While selecting an ISO setting, there are four parameters which need to be kept in mind by the photographer namely light, grain, tripod and the status of the subject. While reference to light is to inquire whether the subject is well lit, the reference to grain whether it is a finer grain, which is required along with its noisiness. Likewise, the status determines whether the subject is moving or stationary and the fourth factor pertains to the use of tripod by the photographer.


Many photographers tend to take pictures with their digital cameras set in the ‘Auto Mode’ since in this mode the camera determines its own ISO setting in accordance with the surrounding conditions. In case the individual wishes to select his own specific ISO, then it should be accompanied by a change in the aperture setting and shutter speed as well. The ISO value, which is the normally accepted norm for acquiring crisp shots with the least amount of noise and grain is 100, although it can be altered either way.


And 100 is considered to be the optimum ISO value because a value which is higher than this figure results in noisy images with more grain. Although people do not mind a bit of noise since it does not always disturb the picture, there are other demerits which are likely to occur like reduced sharpness and reduced contrast ratio. However, these are minor problems which could be overcome by opting for a more technologically advanced camera.


Certain situations that call for a higher ISO setting are indoor sports events which involve a fast moving subject in a limited light setting, concerts which also feature limited light, art galleries and churches and birthday parties. Similarly, situations which could be shot with a low ISO value are shooting a stream, taking pictures of a field on a sunny day and trying to take photographs indoors without the images being too bright.
An adept photographer is always quick to realize the importance of the ISO setting in a digital camera and hence dedicates his efforts towards getting in-depth understanding of the subject. Ultimately, mastery in this area could be acquired by practically experimenting with different ISO settings and judging their impact on the photograph.

Source

Wednesday, August 17, 2011

Street Photography

Originally, only photographers own professional cameras. But since those cameras are now made for public use, many people are trying their hands at this  new hobby. More and more people are drawn into photography, most specifically street photography.

When you take pictures of public places, people, and events in their most natural state, you are doing street photography. Yes there is a term for whatever it is that you are doing. However, there are a few things you need to remember when practicing this craft.


1. Get used to taking pictures of strangers. If you are a shy person, you might want to practice some more. You can first practice on your friends and family members. Capture them at their most natural state to get candid shots.


For example, you might find it interesting to get good angles of your ill-tempered brother who is studying.  When you are able to handle this well, you can go to public places and take pictures of strangers.  But if you want, you can skip this step and go to public places immediately.


2. Be prepared. Bring extra batteries, flash cards, and lenses and put them inside a small carrying case. You won’t know when you will be able to get a good shot. Others get lucky and find great shot early in the morning while there are others who won’t even get single great shot even if the day is about to end.


3. Be inconspicuous as much as possible. Keep a low profile so people will not be too conscious of your presence. Dress just like them so you won’t stand out from the crowd.  Let them be comfortable of you. In no time, they will no longer mind you taking photos of them.


4. Go to events. People are less concerned about being models of a photo when they are having too much fun.


5. Be sensitive to other people’s feelings. Some people just don’t like it when they are subjects of your photo. If you see that they don’t like it, just go away and find other subjects. Learn to draw a line between what is okay and what is inappropriate.

6. Bring someone who can look after you while you do your thing. Not everyone wants their picture to be taken.  Some people think that you are invading their privacy so expect attacks. This is harsh but true. If you have someone to watch over you, you are free to think creatively without having to worry about yourself getting mobbed. 


7. Study about the technical details. Don’t just keep shooting. In order to master your craft, you  have to study and research about techniques and the right tools to use. For example, you should use a lens with a focal length of 35mm. You should set a fast exposure too to avoid blurs if you are taking pictures of fast moving objects such as cars or moving people. Higher ISO should be set if you are shooting in a low light. Details like these will help you improve greatly. Here are few Outdoor Lighting and Contrast tips.


8.Try different things. You can shot from from different angles and viewpoints. Don’t be afraid to experiment so you can finally get a great picture.  Just make sure that you and your camera are safe when you are trying out every possible angle or options.

If that time comes, it will be easy for you to take a shot as your camera is just near. But if your camera is too big for daily use, you might want to buy a point and shoot camera with high megapixels.  This way, you won’t miss an opportunity.


The tips in this post are pretty easy and I am very sure that you can manage it. keep practicing. Who knows? This might even be a career for you in the future. Good luck!

Source

Friday, August 12, 2011

Create Your Own Designer Wedding Album


If you have been to a recent bridal show, you have witnessed the impressive growth of an entire industry revolving around wedding albums. Some brides are even choosing their photographer based on the quality of their albums. For those photographers who have mastered the art, making albums has become a key revenue generator for their business. In fact, I have spoken to photographers who have lowered their coverage prices and put more energy into making high-end albums. Even with significant coverage price reductions, many photographers are generating higher profit margins due to increased album sales. The key is creating a custom one-of-a-kind album that your clients will love. This can be very intimidating and push you out of your comfort zone behind the camera. To take the edge off creating your first album, we will explore some techniques the professionals use.

What are the style options?


Most albums fall into two categories, flush-mount or matted styles. Both can be bound in beautiful leather and look very elegant, but there is a significant difference. Matted albums are ones you have probably seen from the days of yore. They consist of actual photo-prints that slide inside pre-cut matte layouts, typically 1-4 photos per page. There are several layout options available with this style, but your flexibility and creativity is limited because can’t deviate from the provided template. To me, that is a deal breaker and is the reason this style of album is becoming less popular.


Flush-mount albums, sometimes called “magazine style”, are much more versatile. You are only limited by your imagination and graphic design skills. Each page is digitally printed as a single image and is then hard mounted to give thickness and strength. You can drop in as many images as you would like, use background images and have images span the entire width of two pages. Some album companies use a technique of one seamless photo with no split, just a fold down the center.
So which style do you choose, flush or matte? In reality, it’s not your choice; it’s the bride’s. I recommend you have a sample album of both types to show perspective clients, but I generally steer them towards the flush-mount style because of the higher image count and the uniqueness of the book.